Steps to Deploy Private Github Laravel App
The only one difference when creating an EC2 Instance on the security group set SSH Access to Anywhere IPv4, we are going to create later, on this tutorial, a new user and a SSH Pair Keys to secure access using this user and the generated keys.

Connect to your instance using SSH ubuntu credentials, and follow below steps
# connect to you EC2 instance using your security group key
ssh -i <ec2-key-file>  ubuntu@<ec2-public-ipv4-address>

# create an user for you deployment process
sudo adduser laravel_aws_prod

# switch to your new user
sudo su laravel_aws_prod

# change to users default home directory
cd ~/

# create a ssh pair keys
ssh-keygen -t rsa -b 4096 -C "laravel-aws-repo-deploy-to-PROD" -f ~/.ssh/id_rsa

# create an access granted for Github SSH when using private key
cp ~/.ssh/id_rsa.pub ~/.ssh/authorized_keys

# setup ssh keys permissions
chmod 0700 ~/.ssh
chmod 0600 ~/.ssh/*

# Display public key content, select and copy
# we need to setup a Deploy Key on your Laravel Repository
# to be able to clone once your repo on your instance
cat ~/.ssh/id_rsa.pub
Select and copy the content of your id_rsa.pub public key.
Now we need to create a Deploy Key on your Laravel App, open your Github Laravel project repository, go to Settings tab, and click on Deploy Keys on the left menu and click on Add Deploy Key, paste the public key content.
Go back to your EC2 Instance ubuntu iTerm and clone your project for first time
# clone your laravel app project, this is only one time command
git clone git@github.com:bqroster/laravel-aws.git laravel_aws_prod

Cloning into 'laravel_aws_prod'...
The authenticity of host 'github.com (140.82.112.3)' can't be established.
ED25519 key fingerprint is SHA256:+DiY3wvvV6TuJJhbpZisF/zLDA0zPMSvHdkr4UvCOqU.
This key is not known by any other names.
Are you sure you want to continue connecting (yes/no/[fingerprint])? yes
Warning: Permanently added 'github.com' (ED25519) to the list of known hosts.
remote: Enumerating objects: 271, done.
remote: Counting objects: 100% (271/271), done.
remote: Compressing objects: 100% (153/153), done.
remote: Total 271 (delta 68), reused 268 (delta 68), pack-reused 0 (from 0)
Receiving objects: 100% (271/271), 148.91 KiB | 12.41 MiB/s, done.
Resolving deltas: 100% (68/68), done.
We need to run a ONE TIME commands for our project, follow below commands.
# change to your recently laravel cloned folder
cd laravel_aws_prod

# create sqlite (testint migration purposes)
touch database/database.sqlite

# create .env file if it does not exists
php -r "file_exists('.env') || copy('.env.example', '.env');"
You need to had configured in your .env or .env.example file below ENV variables values to make it work correctly with SQlite.
DB_CONNECTION=sqlite
#DB_HOST=127.0.0.1
#DB_PORT=3306
#DB_DATABASE=laravel_aws
#DB_USERNAME=root
#DB_PASSWORD=
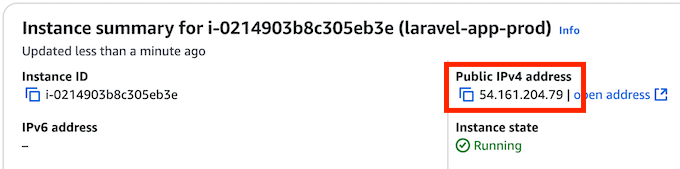
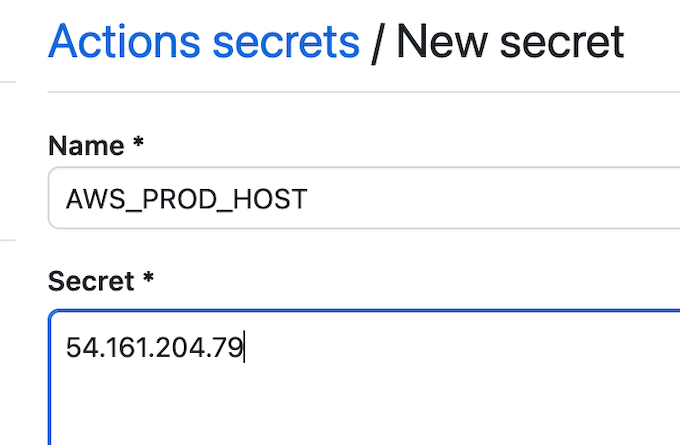
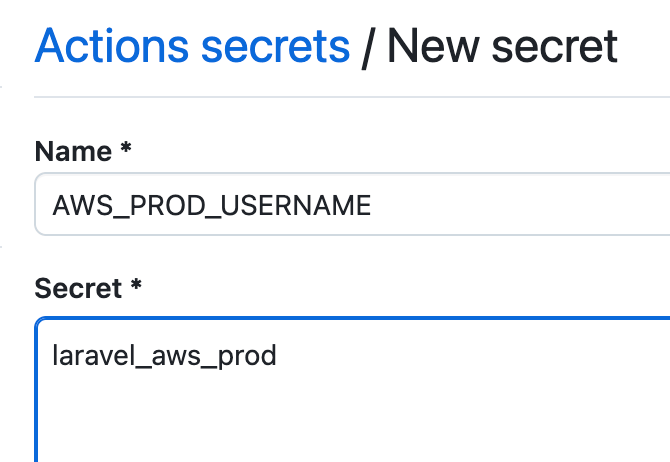
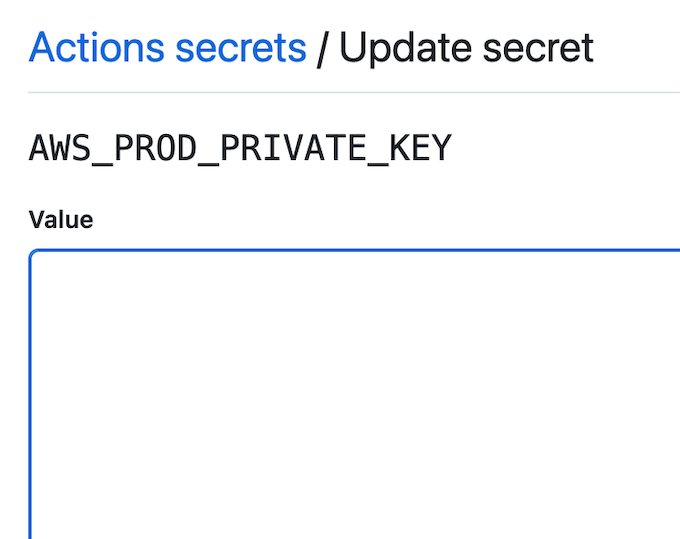
Now we need to create 3 secrets variables on your Laravel App, open your Github Laravel project repository, go to Settings tab, and click on Secret and Variables on the left menu and click on Actions submenu
Now you need to select and copy your private key in ~/.ssh/id_rsa, and paste into your Secret Variable on your Github.
Now we need to create a Github Workflow in your Laravel project, create a directory name .github/workflows in your root project, and inside this workflows directory create file master-deploy.yml and paste below YAML file.
name: Deploy Laravel App to AWS EC2 Instance
on:
  push:
    branches: [ main ]

jobs:
  deploy:
    runs-on: ubuntu-latest

    steps:
    - name: Checkout Code
      uses: actions/checkout@v4

    - name: Deploy Repo with SSH
      uses: appleboy/ssh-action@v1.2.1
      with:
        host: ${{ secrets.AWS_PROD_HOST }}
        username: ${{ secrets.AWS_PROD_USERNAME }}
        key: ${{ secrets.AWS_PROD_PRIVATE_KEY }}
        script: |
          echo "==> STARTING DEPLOY"
          cd ~/
          mkdir -p laravel_aws_prod
          cd laravel_aws_prod

          echo "==> Github pull latest changes to Instance"
          git pull origin

          echo "==> Installing composer packages"
          composer install --no-dev --optimize-autoloader --prefer-dist --no-progress --no-interaction

          echo "==> Laravel Key Generate"
          php artisan key:generate

          echo "==> Migrate Database"
          php artisan migrate --force

          echo "==> Installing dependencies"
          npm install

          echo "==> Build NPM assets"
          npm run build

          echo "==> COMPLETED DEPLOY..."
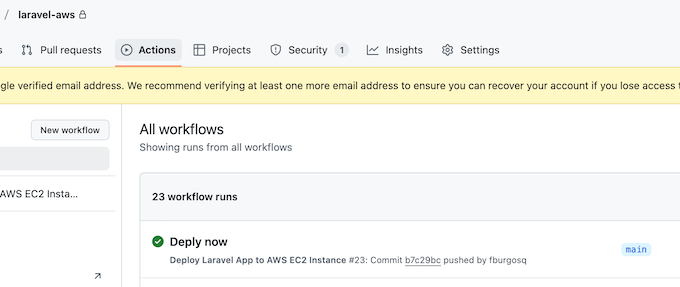
You need to add this change to your main branch, and push directly or create a pull request and merge into your main branch, once you merge into main, you can check in you Github repository in "Actions" tab, that a new workflow is running, it should complete green, this means that the workflow run successfully.
Steps to make our Laravel App Live
To make our Laravel App goes live, we need to return to our ubuntu user, at this point we cannot user our laravel_aws_prod user, this user is created to handle the deployment process but it does not have ROOT permissions to change some Nginx configuratioin to make our Web Application live.
 laravel_aws_prod@ip-172-31-85-123:~/laravel_aws_prod$ whoami
laravel_aws_prod
laravel_aws_prod@ip-172-31-85-123:~/laravel_aws_prod$ exit
exit
ubuntu@ip-172-31-85-123:~$ whoami
ubuntu
ubuntu@ip-172-31-85-123:~$
Configure Laravel User and Update PHP Pool config
Check to which group the current user in Nginx Configuration belongs
ubuntu@ip-172-31-85-123:~$ cat /etc/nginx/nginx.conf | grep user
user www-data;

# we need to append/add to your laravel-app-dev user to this www-data group
sudo usermod -a -G laravel_aws_prod www-data
Now we need to update our PHP Pool configuration to our user
sudo nano /etc/php/8.2/fpm/pool.d/www.conf
Now you need to search for the pool name and update with your laravel user
; Start a new pool named 'www'.
; the variable $pool can be used in any directive and will be replaced by the
; pool name ('www' here)
[www]

# update [www] for current user
[laravel_aws_prod]

# now scroll down and search for these 2 lines and replace for...
user = www-data
group = www-data

# replace above 2 lines with your laravel user
user = laravel_aws_prod
group = laravel_aws_prod

# scroll down and search for the next 2 lines and replace for...
listen.owner = www-data
listen.group = www-data

# replace above 2 lines with your laravel user
listen.owner = laravel_aws_prod
listen.group = laravel_aws_prod

# save and exit your file
Create Nginx Config to your Laravel App Folder
The last step is to create a new Nginx configuration or update Nginx default conf file and point it to our Laravel App Folder
To simplify the process we are going to update current default conf
sudo nano /etc/nginx/sites-available/default
Replace current default configuration for below Nginx Laravel Basic configuration
server {
    listen 80 default_server;
    listen [::]:80 default_server;
    server_name _;

    # ONLY REPLACE BELOW LINE FOR THE
    # PATH THAT POINTS DIRECTLY TO YOUR LARAVEL APP public/ folder
    root /home/laravel_aws_prod/laravel_aws_prod/public;

    index index.php index.html index.htm;

    charset utf-8;

    # Enable gzip compression
    gzip on;
    gzip_types text/plain text/css application/javascript application/json application/xml text/javascript;

    # Set up Laravel's recommended configurations
    location / {
        try_files $uri $uri/ /index.php?$query_string;
    }

    # Handle .php files (ensure this points to your PHP-FPM socket or service)
    location ~ \.php$ {
        fastcgi_pass unix:/var/run/php/php8.2-fpm.sock;
        fastcgi_index index.php;
        fastcgi_param SCRIPT_FILENAME $realpath_root$fastcgi_script_name;
        include fastcgi_params;
    }

    # Deny access to sensitive files
    location ~ /\.(?!well-known).* {
        deny all;
    }

    # Set appropriate permissions for caching
    location ~* \.(?:css|js|jpe?g|png|gif|svg|ico|woff2?|ttf|eot|otf|webp)$ {
        try_files $uri =404;
        access_log off;
        expires 1y;
        add_header Cache-Control "public, immutable, max-age=31536000";
    }

    # Allow Laravel to serve pretty URLs (Eliminate index.php in URLs)
    location ~ ^/index\.php$ {
        try_files $uri =404;
    }

    # Access and error logs
    access_log /var/log/nginx/laravel_access.log;
    error_log /var/log/nginx/laravel_error.log;
}
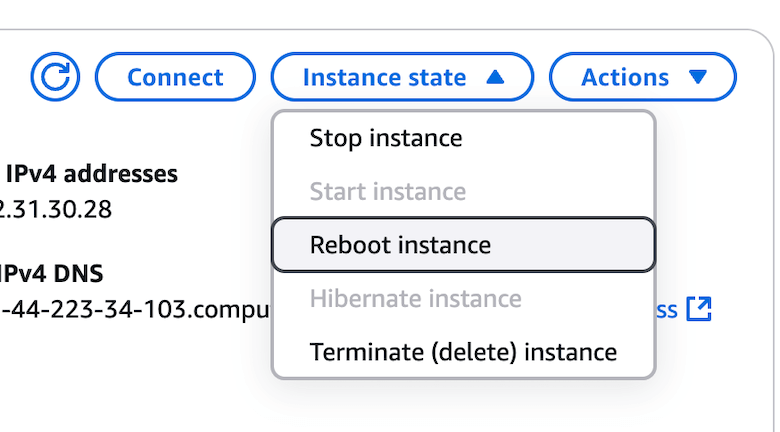
Save the default cong file and exit nano, now it is time for the last steps, reload Nginx and reboot EC2 instance.
sudo service nginx reload
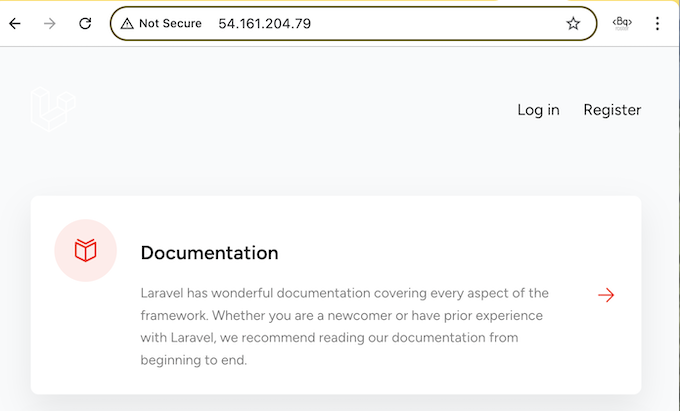
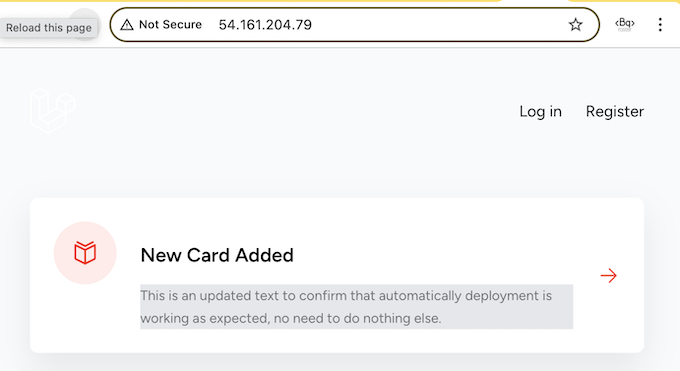
Now you can open your browser and type http://<ec2-public-ipv4-address>, only update the IPv4 Address for the one in your EC2 Instance.
We are going to update the first "Card" and create a Pull Request to merge into Main branch and see the automatically deployment flow work.
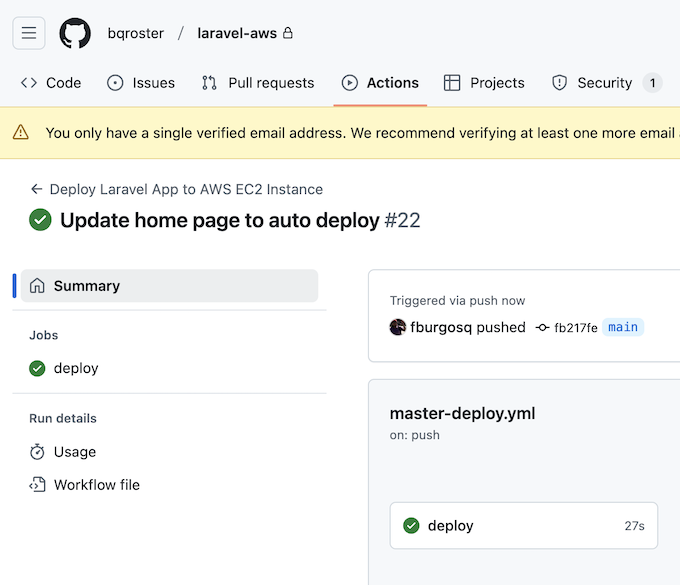
Once the Github Workflow completes success, you can refreshh your browser and see that will display the updated content, thanks to your deploy configuration file in Github Actions.
Always welcome comments, feedback, concerns that help me to improve this tutorial.